Reading agent state
Read the realtime agent state in your native application.
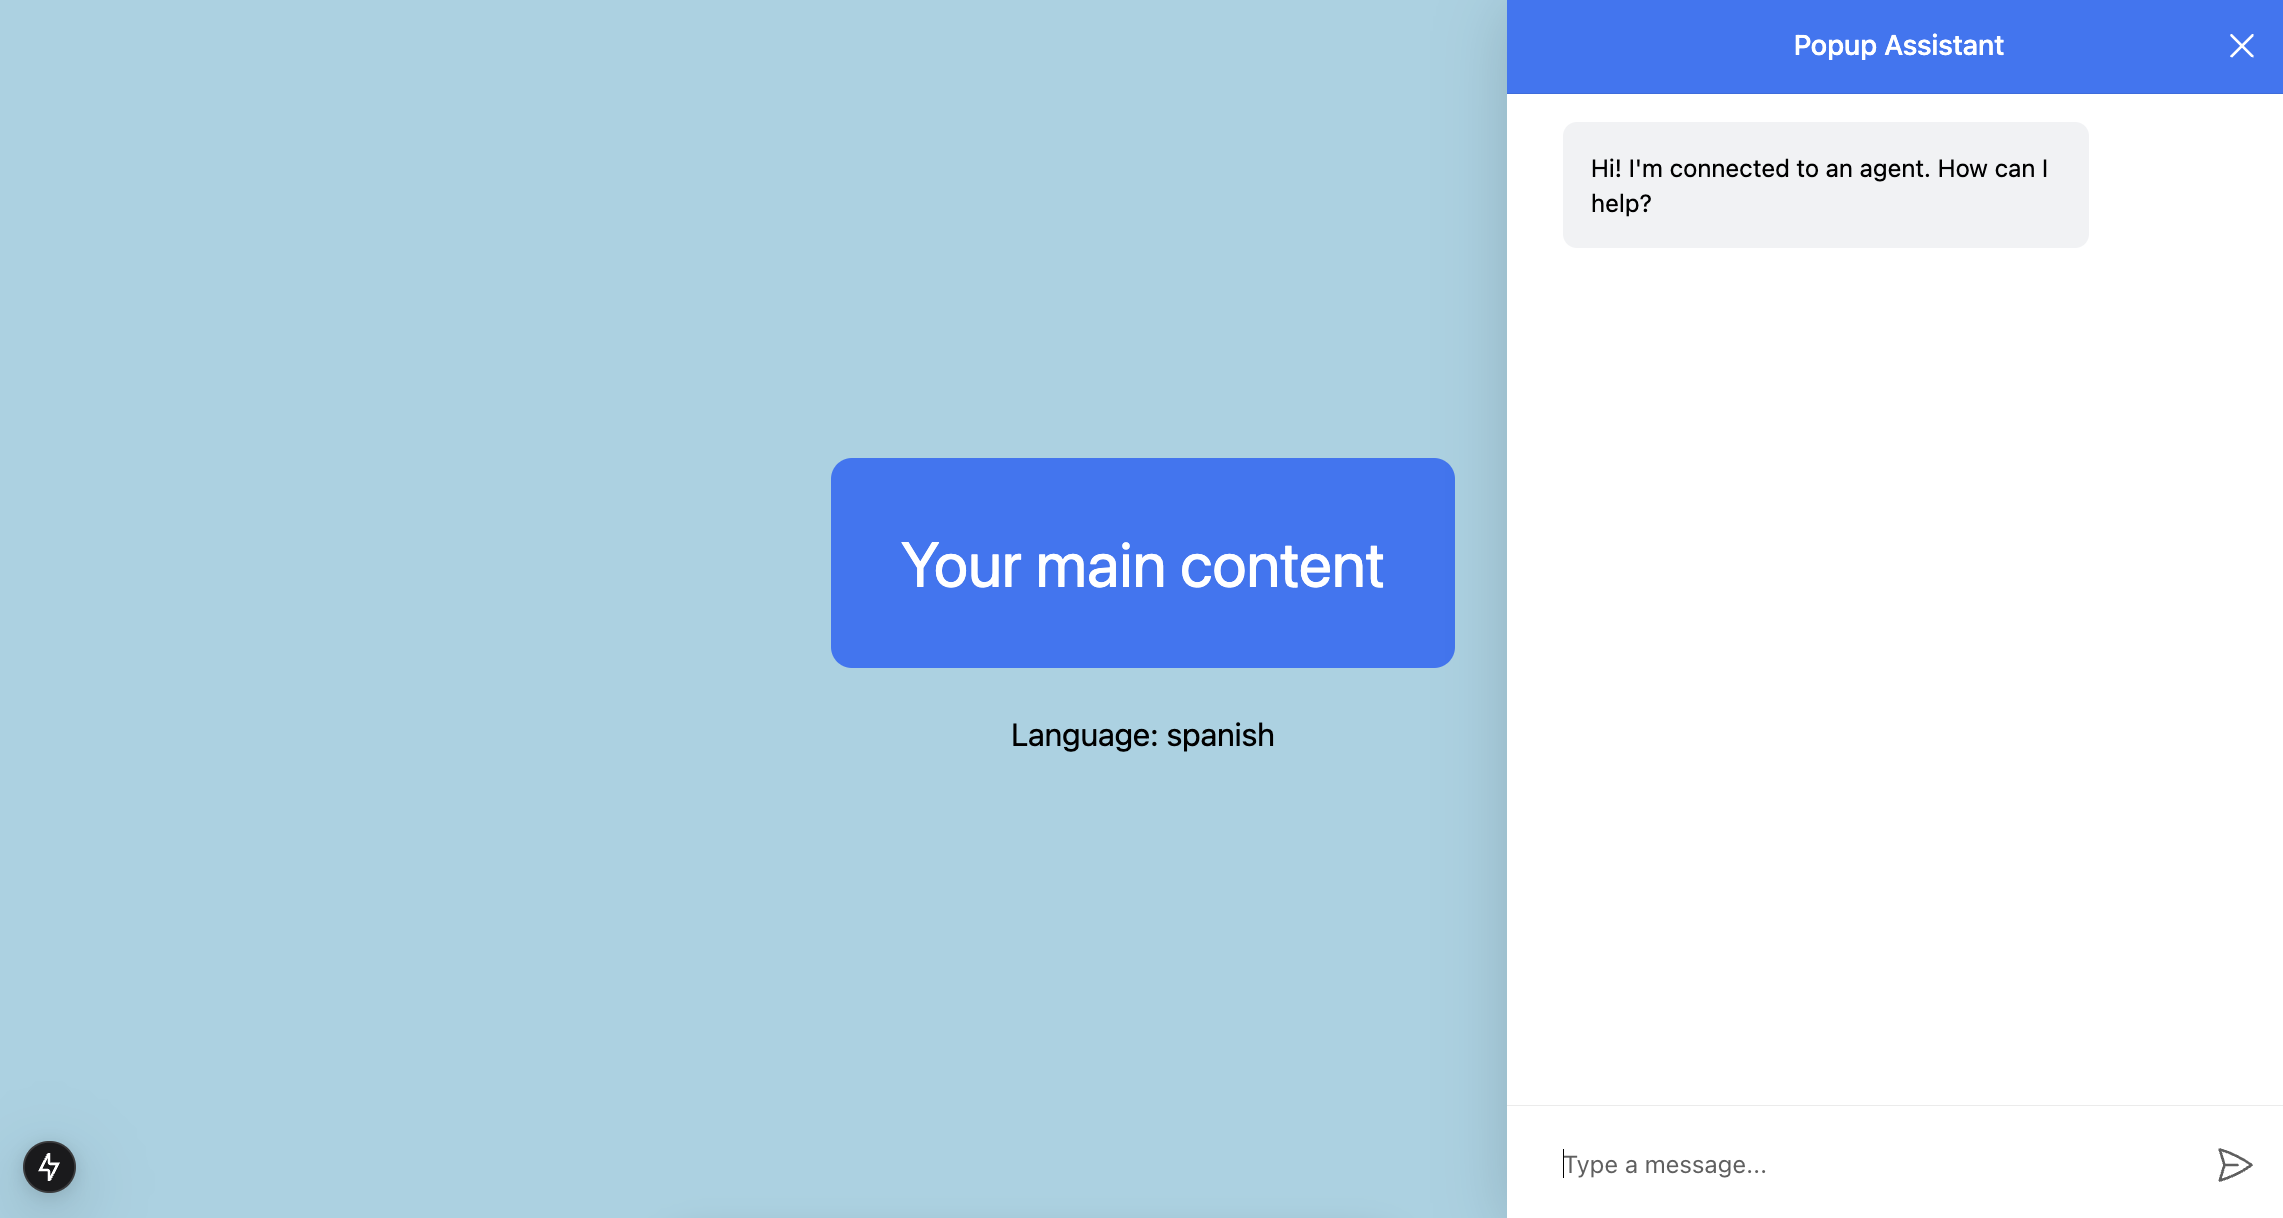
Pictured above is the coagent starter with the implementation section applied!
What is this?#
You can easily use the realtime agent state not only in the chat UI, but also in the native application UX.
When should I use this?#
You can use this when you want to provide the user with feedback about your agent's state. As your agent's state updates, you can reflect these updates natively in your application.
Implementation#
Run and Connect Your Agent to CopilotKit#
You'll need to run your agent and connect it to CopilotKit before proceeding. If you haven't done so already, you can follow the instructions in the Getting Started guide.
If you don't already have an agent, you can use the coagent starter as a starting point as this guide uses it as a starting point.
Define the Agent State#
CrewAI Flows are stateful. As you transition through the flow, that state is updated and available to the next function. For this example, let's assume that our agent state looks something like this.
from copilotkit.crewai import CopilotKitState
from typing import Literal

class AgentState(CopilotKitState):
    language: Literal["english", "spanish"] = "english"
Use the useAgent Hook#
With your agent connected and running all that is left is to call the useAgent hook, pass the agent's name, and
optionally provide an initial state.
// Define the agent state type, should match the actual state of your agent
type AgentState = {
language: "english" | "spanish";
}

function YourMainContent() {
  const { agent } = useAgent({
    agentId: "sample_agent",
    initialState: { language: "english" }  // optionally provide an initial state
  });

  // ...

  return (
    // style excluded for brevity
    <div>
      <h1>Your main content</h1>
      <p>Language: {agent.state?.language}</p>
    </div>
  );
}
The agent.state in useAgent is reactive and will automatically update when the agent's state changes.
Give it a try!#
As the agent state updates, your state variable will automatically update with it! In this case, you'll see the
language set to "english" as that's the initial state we set.
Rendering agent state in the chat#
You can also render the agent's state in the chat UI. This is useful for informing the user about the agent's state in a
more in-context way. To do this, you can use the useAgent hook with a render function.
// Define the agent state type, should match the actual state of your agent
type AgentState = {
  language: "english" | "spanish";
};

function YourMainContent() {
  // ...
  useAgent({
    agentId: "sample_agent",
    render: ({ state }) => {
      if (!state.language) return null;
      return <div>Language: {state.language}</div>;
    },
  });
  // ...
}
The agent.state in useAgent is reactive and will automatically update when
the agent's state changes.
Intermediately Stream and Render Agent State#
By default, the CrewAI Flow agent state will only update between CrewAI Flow node transitions -- which means state updates will be discontinuous and delayed.
You likely want to render the agent state as it updates continuously.