MCP
Integrate Model Context Protocol (MCP) servers into your React applications
Open your coding agent in your project's folder, or in an empty folder for a new app.This runs in a coding agent on your computer.
Introduction#
The Model Context Protocol is an open standard that enables developers to build secure, two-way connections between their data sources and AI-powered tools. With MCP, you can:
- Connect AI applications to your data sources
- Enable AI tools to access and utilize your data securely
- Build AI-powered features that have context about your application
For further reading, check out the Model Context Protocol website.
Looking for MCP Apps?
If you want MCP servers to return interactive UI components that render directly in the chat, check out MCP Apps.
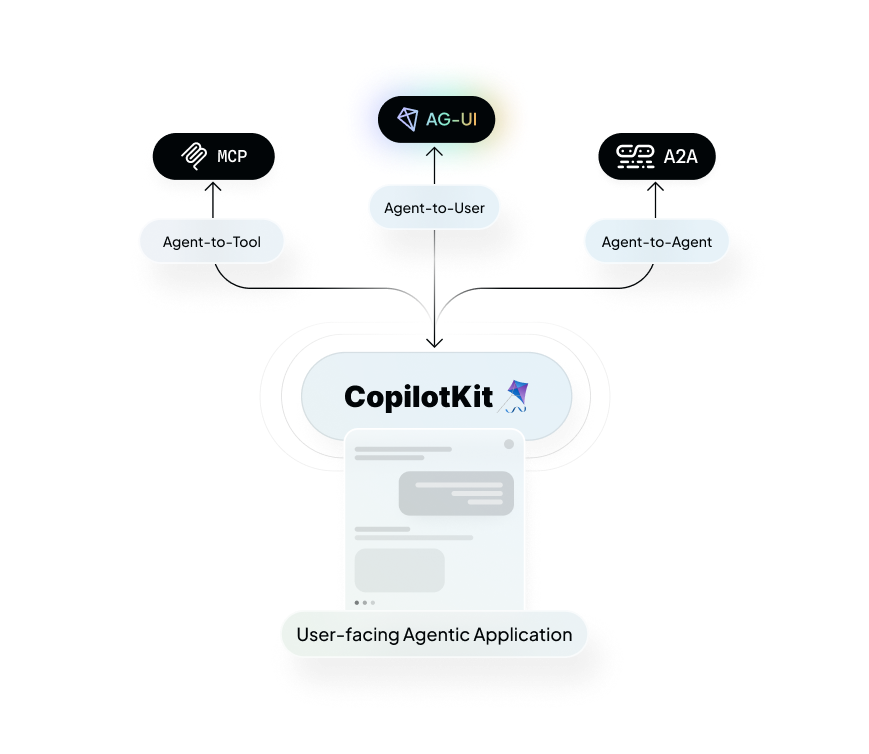
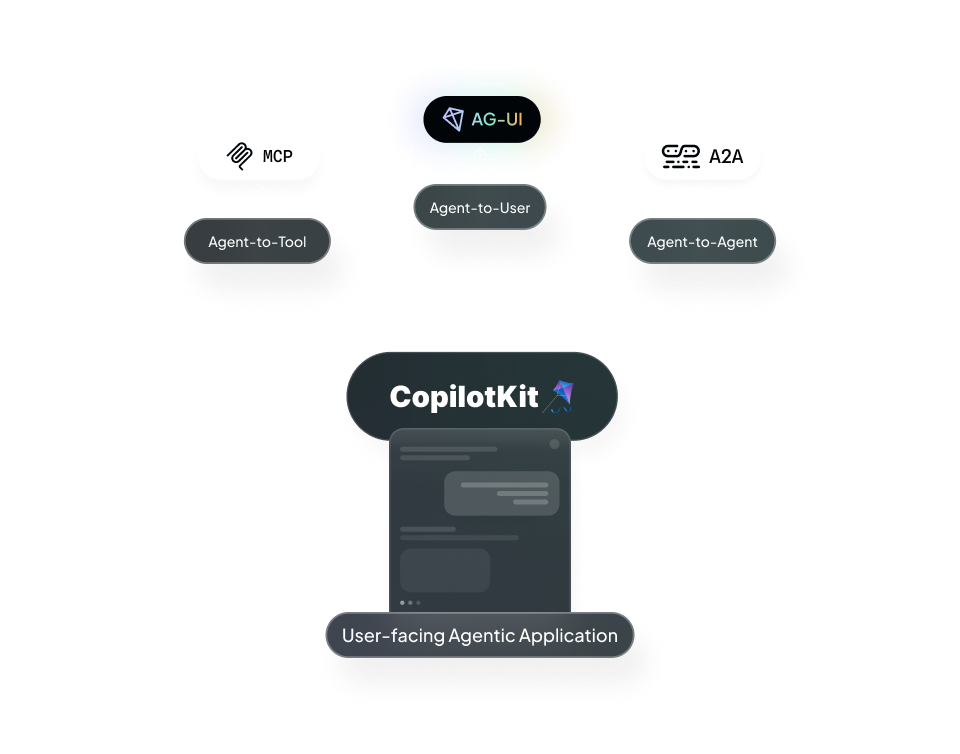
MCP is one of three prominent agentic protocols CopilotKit supports to connect agents to user-facing frontends
When you do (and don't) need an MCP App#
"MCP server" covers three quite different things, and only one of them needs an MCP App. Picking the wrong one means either building UI you didn't need or shipping a tool nobody can act on.
Work out which kind of server you have:
| Your server… | What the user should see | What to build |
|---|---|---|
| Reads data and returns it | Nothing, or a status line — the answer belongs in the agent's reply | Plain MCP tool. No renderer needed. |
| Changes something (writes, sends, deletes) | What is about to happen, with a way to stop it | Plain MCP tool + a renderer, plus approval for anything irreversible |
| Has its own interface (a form, a picker, a chart to interact with) | The interface itself | An MCP App with a UI resource |
Read-only context servers#
The most common case, and the one that needs the least. A docs search, a database query, a "look up this customer" tool — the tool result is context for the model, not something the user reads directly. The agent folds it into its answer, and that answer is the UI.
Connect the server and stop there. If you want the call to be visible rather than invisible, a wildcard renderer gives every tool call a status card without writing one renderer per tool:
import { useDefaultRenderTool } from "@copilotkit/react-core/v2";

useDefaultRenderTool({
  render: ({ name, status, parameters, result }) => (
    <McpToolCall status={status} name={name} args={parameters} result={result} />
  ),
});
Reach for an MCP App here only if the result is genuinely interactive — a chart the user filters, not a table they read.
Action and mutation servers#
When a tool sends an email, files a ticket, or deletes a row, the user needs to see it — and usually needs to authorize it. That's still not an MCP App: it's a renderer plus human-in-the-loop.
The renderer shows what happened. The approval step decides whether it happens at all, and belongs on anything the user can't undo. See Human in the loop for the approval flow, and Tool rendering for renderer options.
A useful test: if you're considering an MCP App purely to render a confirmation button, you want human-in-the-loop instead. Approval is a CopilotKit concern, not a server-supplied UI.
Interactive MCP Apps#
An MCP App is the right answer when the server owns the interface — it exposes a tool with an associated UI resource, and CopilotKit fetches and renders that resource in a sandboxed iframe with no frontend code from you.
That's worth it when the interaction is rich enough to need real UI (a seat picker, a configuration form, an embedded editor), and when the server author — not the app author — is the one who should define how it looks. The cost is that the server now ships and versions UI, so a read-only lookup doesn't justify it.
See MCP Apps for setup.
These aren't exclusive. One server can expose plain tools and App-backed tools side by side; CopilotKit renders each call according to whether it carries a UI resource.
Quickstart with CopilotKit#
Get an MCP Server#
First, we need to make sure we have an MCP server to connect to. You can use any MCP SSE endpoint you have configured.
Get an MCP Server from Composio
Composio provides a registry of ready-to-use MCP servers with simple authentication and setup.
To get started, go to Composio, find a server that suits your needs and copy the SSE URL before continuing here.
Advanced Usage#
Implementing the McpToolCall Component#
Click to see the McpToolCall component implementation
"use client";

interface ToolCallProps {
  status: "complete" | "inProgress" | "executing";
  name?: string;
  args?: any;
  result?: any;
}

export default function MCPToolCall({
  status,
  name = "",
  args,
  result,
}: ToolCallProps) {
  const [isOpen, setIsOpen] = React.useState(false);

  // Format content for display
  const format = (content: any): string => {
    if (!content) return "";
    const text =
      typeof content === "object"
        ? JSON.stringify(content, null, 2)
        : String(content);
    return text
      .replace(/\\n/g, "\n")
      .replace(/\\t/g, "\t")
      .replace(/\\"/g, '"')
      .replace(/\\\\/g, "\\");
  };

  return (
    <div className="bg-[#1e2738] rounded-lg overflow-hidden w-full">
      <div
        className="p-3 flex items-center cursor-pointer"
        onClick={() => setIsOpen(!isOpen)}
      >
        <span className="text-white text-sm overflow-hidden text-ellipsis">
          {name || "MCP Tool Call"}
        </span>
        <div className="ml-auto">
          <div
            className={`w-2 h-2 rounded-full ${
              status === "complete"
                ? "bg-gray-300"
                : status === "inProgress" || status === "executing"
                  ? "bg-gray-500 animate-pulse"
                  : "bg-gray-700"
            }`}
          />
        </div>
      </div>

      {isOpen && (
        <div className="px-4 pb-4 text-gray-300 font-mono text-xs">
          {args && (
            <div className="mb-4">
              <div className="text-gray-400 mb-2">Parameters:</div>
              <pre className="whitespace-pre-wrap max-h-[200px] overflow-auto">
                {format(args)}
              </pre>
            </div>
          )}

          {status === "complete" && result && (
            <div>
              <div className="text-gray-400 mb-2">Result:</div>
              <pre className="whitespace-pre-wrap max-h-[200px] overflow-auto">
                {format(result)}
              </pre>
            </div>
          )}
        </div>
      )}
    </div>
  );
}
Self-Hosting Option#
Click here to learn how to use MCP with self-hosted runtime
Self-Hosting vs Copilot Cloud
The Copilot Runtime handles communication with LLMs, message history, and state. You can self-host it or use CopilotKit Cloud (recommended). Learn more in our Self-Hosting Guide.
Attach the MCP servers to the agent. The agent opens a client for each server at the start of a run and closes it when the run ends, so nothing is cached between requests:
import { BuiltInAgent } from "@copilotkit/runtime/v2";
import {
  CopilotRuntime,
  createCopilotRuntimeHandler,
} from "@copilotkit/runtime/v2";

const runtime = new CopilotRuntime({
  agents: {
    default: new BuiltInAgent({
      model: "openai/gpt-4o",
      mcpServers: [
        {
          type: "sse",
          url: "https://my-mcp-server.example.com/sse",
          headers: { Authorization: `Bearer ${process.env.MCP_API_KEY}` },
        },
      ],
    }),
  },
});

export const POST = createCopilotRuntimeHandler({
  runtime,
  basePath: "/api/copilotkit",
});
See MCP servers for the HTTP
transport, multiple servers, and mcpClients — which lets you own the client
lifecycle when you need persistent connections or per-request credentials.
`createMCPClient` on the v1 runtime
new CopilotRuntime({ mcpServers, createMCPClient }) from
@copilotkit/runtime is the deprecated v1 API. It still works, but it keeps
one client per endpoint for the life of the runtime instead of opening and
closing one per run. Use the agent-level configuration above for new work.